October 15, 2026 · 3 min read
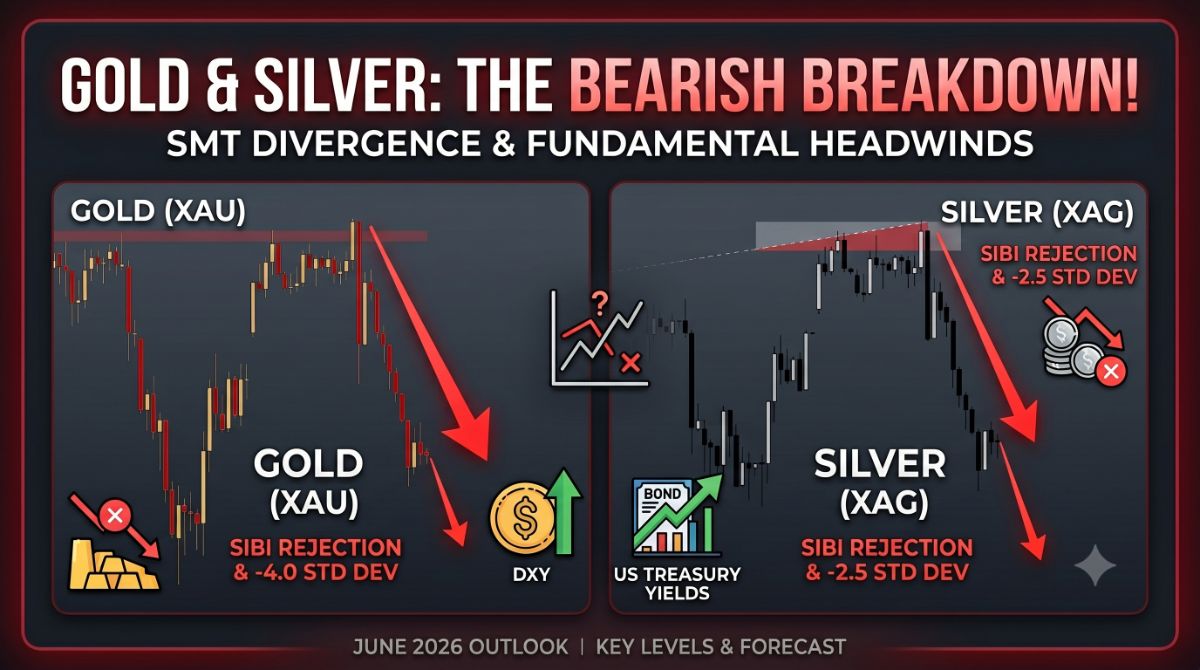
This Gold setup was a short position on XAUUSD, built from higher-timeframe bearish context and refined into a lower-timeframe execution.
The trade shown in the video was entered with two sell positions:
XAUUSD Sell 2: 4163.08 → 4151.19
XAUUSD Sell 2: 4161.36 → 4151.19
The analysis starts from the higher timeframe rather than going straight to the entry.
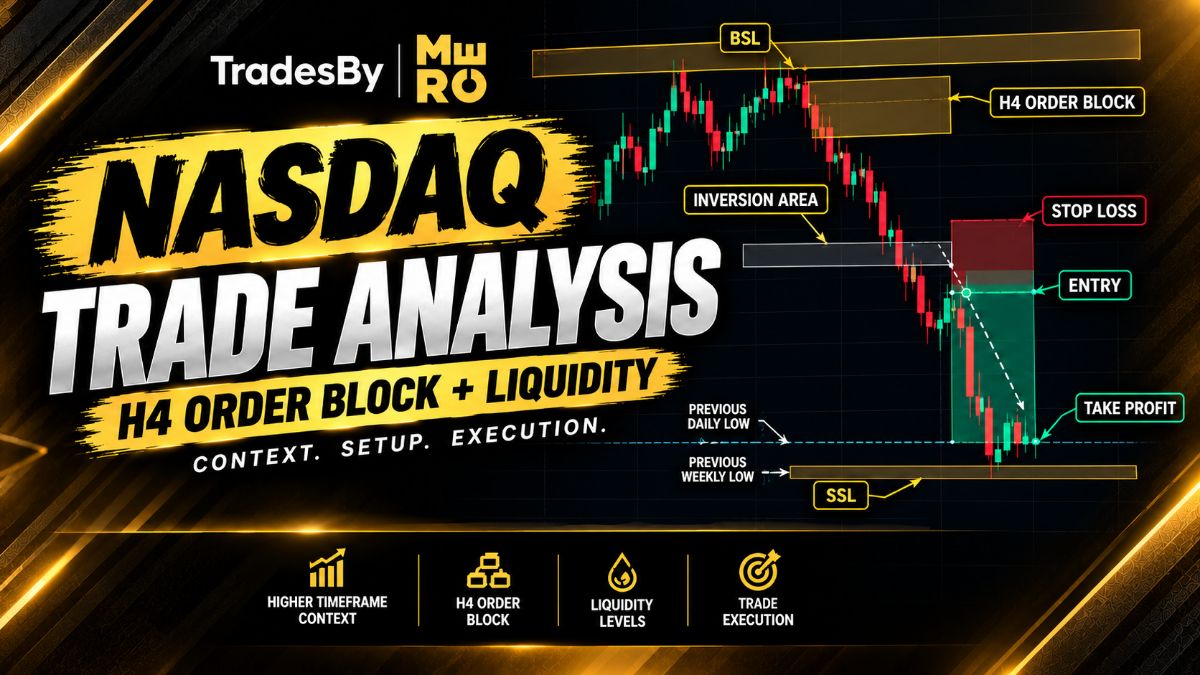
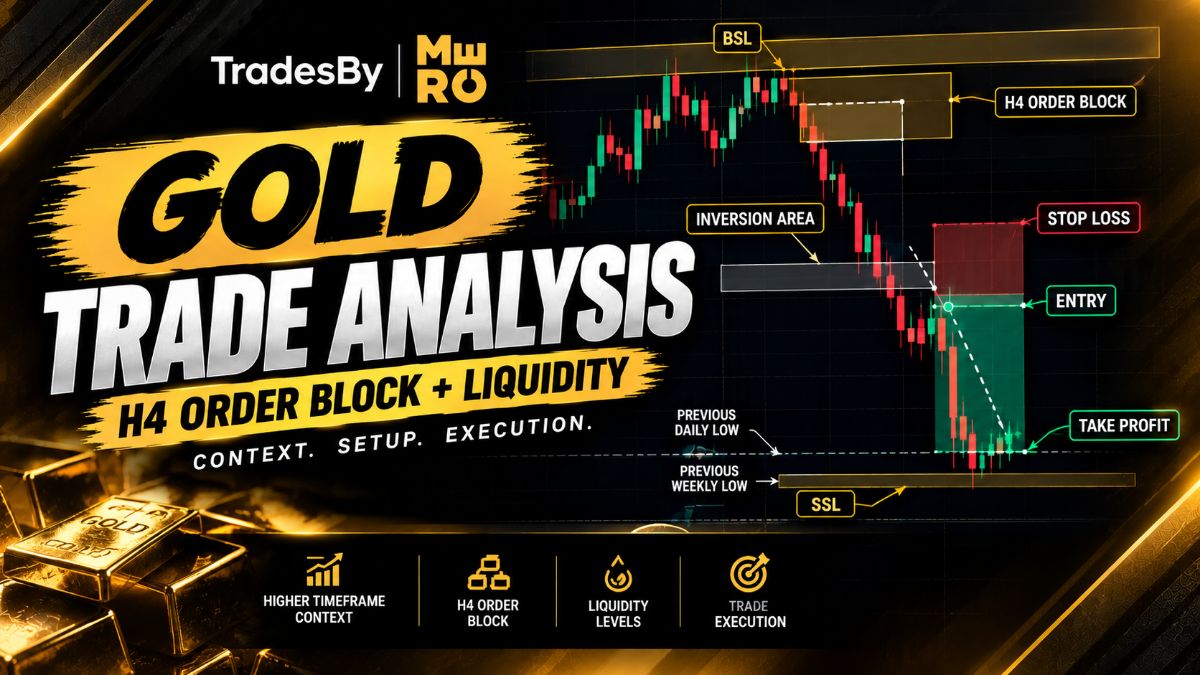
Several areas are marked on the chart, including a H4 Order Block, BSL, an inversion area, and the Previous Daily Low / Previous Weekly Low.
Price had already rejected from the higher area and was delivering lower, giving the trade its bearish context.
One of the clearest higher-timeframe references shown in the video is the H4 Order Block.
Price trades into that upper area and then rejects, followed by bearish displacement.
This is important because the short wasn't being considered randomly in the middle of the chart. There was a higher-timeframe area providing context for looking lower.
The video also marks both sides of liquidity.
BSL is identified around the upper portion of the structure, while SSL is marked below price.
After the bearish setup develops, the downside sell-side liquidity becomes the objective shown on the chart.
The analysis then moves down to refine the setup.
The video shows the short-position tool placed over the bearish move, with the risk area above the entry and the reward area extending toward the SSL below.
The actual trade history shown at the beginning confirms two XAUUSD sell executions:
4163.08 → 4151.19
4161.36 → 4151.19
That means the two entries captured approximately:
11.89 points from the first position
10.17 points from the second position
Both positions were closed at 4151.19.
The setup shown in the video can be summarized as:
Higher-timeframe bearish context
↓
H4 Order Block
↓
Bearish rejection / displacement
↓
Lower-timeframe short execution
↓
Sell-side liquidity objective
The chart also shows additional concepts and levels such as BSL, inversion, and Previous Daily/Weekly Low, which form part of the broader analysis presented in the video.
One of the strongest lessons from this trade is the importance of starting with context before refining an entry.
The short wasn't based simply on seeing price fall.
The video works from the higher-timeframe area first, then moves into the lower timeframe to refine the execution and establish where price could potentially deliver.
That's a much more structured process than seeing bearish candles and immediately pressing sell.
Context first. Execution second. Target already defined.
For the TradesByMerc community, that's the part of this breakdown worth studying—not just the final profit.
For educational purposes only. This is a review of a completed trade, not a live trading signal or guarantee of profit. Trading involves risk.
Log in to like and join the discussion.
MNQ Long Trade Analysis
Oct 8, 2026 · 1 min read
Stalking the Judas Swing in Aussie & Kiwi – The Bearish Path
Jun 8, 2026